How to Add Products to Your Lnkk.it: The Complete Guide to Selling Online

Your audience already trusts you.
They follow your content, engage with your stories, and click your bio link when they want more. The question is—what do they see when they get there?
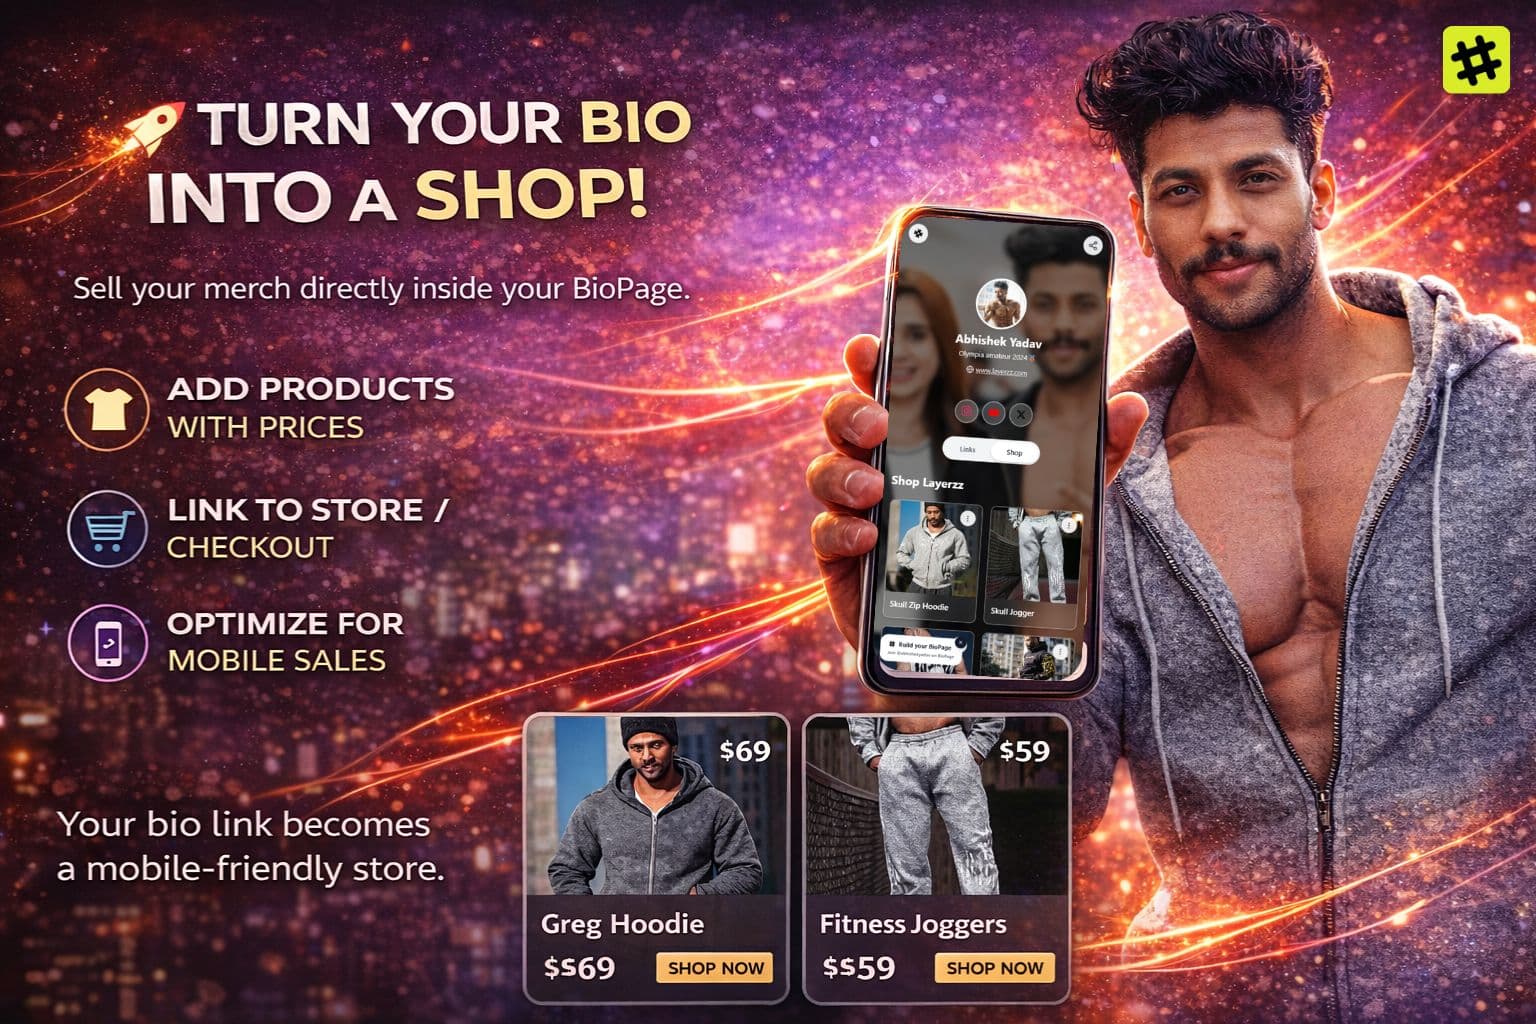
With Lnkk.it, your bio doesn’t have to send people away to shop.
It can be the shop.
This guide walks you through everything you need to know about turning your Lnkk.it into a powerful, mobile-first storefront—whether you sell digital products, merch, services, or courses.
Why Selling from Your Lnkk.it Works
Your bio link is the highest-intent traffic you own.
Anyone clicking it is already interested—yet most creators still redirect that traffic elsewhere.
Lnkk.it changes that.
What Makes Lnkk.it Shop Different
Your shop lives inside your bio (not behind multiple clicks)
Auto-fetch pulls product details instantly
No platform commissions—you keep your revenue
Consistent branding with your Lnkk.it theme
Works across Instagram, TikTok, YouTube, X
Analytics-ready for smarter selling
Your bio stops being a directory and starts becoming a conversion surface.
Who Is the Lnkk.it Shop For?
Lnkk.it’s Shop feature is built for:
Creators selling presets, templates, digital downloads
Artists & designers offering prints or commissions
Musicians selling merch, albums, or exclusives
Coaches & consultants promoting services or sessions
Influencers monetizing affiliate or brand products
Small brands showcasing products without a full website
If you can share a link—you can sell.
Getting Started: Accessing the Shop Dashboard
To begin:
Log in to your Lnkk.it Dashboard
Click Shop in the sidebar (below Links)
You’ll see the Shop manager with an “Add Product” button
This is your control center—where products, layouts, and visibility are managed.
Adding Your First Product (Step by Step)
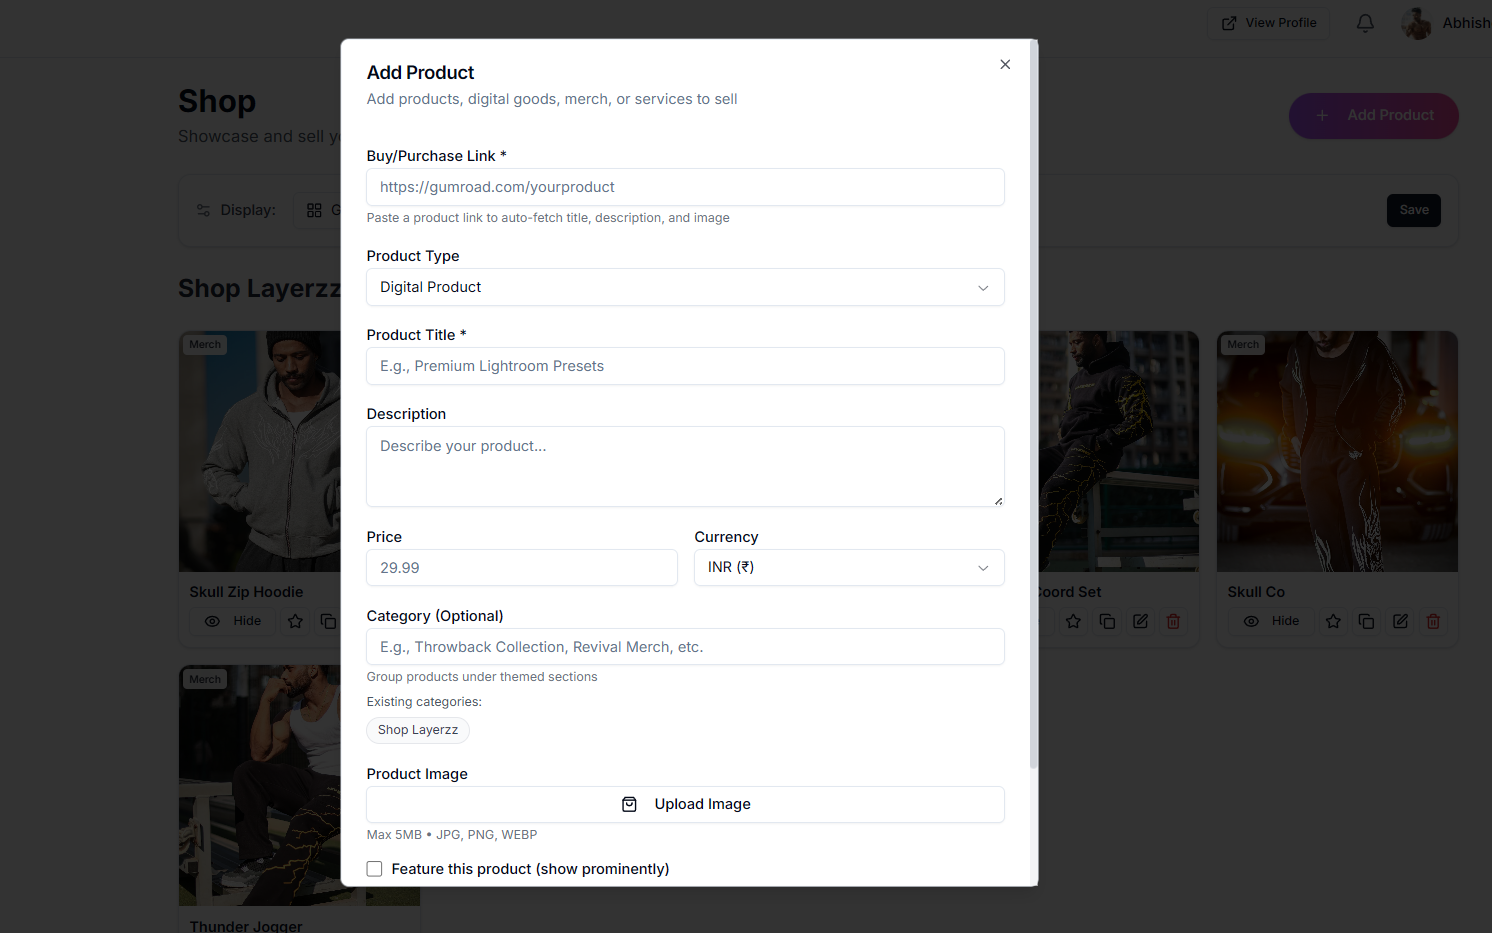
Step 1: Click “Add Product”
This opens the product editor where everything begins.
Step 2: Paste Your Product Link (The Smart Way)
Instead of manually filling forms, start with the product URL.
Supported platforms include:
Gumroad
Shopify
Amazon
Etsy
WooCommerce
Stripe payment links
Payhip, Sellfy, Ko-fi
Any public product page
The moment you paste the link, Lnkk.it’s auto-fetch system activates.
Step 3: Let Auto-Fetch Do the Work ✨
Lnkk.it automatically pulls:
Product title
Description
Image
Price (when available)
Currency
A live preview shows exactly how your product will appear on your Lnkk.it—saving time and avoiding copy-paste errors.
Step 4: Customize Details (Optional but Recommended)
Even with auto-fetch, you can fine-tune:
Title (make it benefit-driven)
Description (short, clear, persuasive)
Price & currency
Category (for grouping)
Step 5: Add or Replace Product Images
You can:
Use the auto-fetched image
Upload your own (JPG/PNG/WEBP, up to 5MB)
Best image practices:
Square (1:1)
Clean background
Consistent style across products
Show the product in use when possible
Step 7: Feature or Hide Products
Before saving, you can:
⭐ Feature a product (best for launches & bestsellers)
👁️ Hide products temporarily without deleting
Step 8: Save & Go Live
Click Add Product—and your shop is instantly live inside your bio.
No publishing delays. No extra steps.
Organizing Your Shop with Categories
Categories help visitors browse faster.
Examples:
Digital Downloads
Merch Collection
Courses
Services
Limited Drops
Products with the same category name group automatically.
Tips:
Use 3–5 categories max
Keep names clear and intuitive
Avoid single-product categories
Display Layouts & Customization
Lnkk.it lets you control how products appear:
Layout Options
Slider (best for mobile & many products)
Grid (1–3 columns for visual comparison)
Card Styles
Vertical (image on top)
Horizontal (image + text side by side)
Your shop always stays mobile-first and fast.
Featured Products: Sell Smarter
Featured products get a visual badge and higher visibility.
Use featured status for:
New launches
Bestsellers
Limited-time offers
High-margin items
Pro tip: Feature 1–3 products max for impact.
Managing Products Like a Pro
Each product card includes:
Edit
Duplicate
Feature / Unfeature
Hide / Show
Delete
Use Duplicate to create variants or bundles quickly.
Hide products instead of deleting if you plan to reuse them later.
Final Thoughts: Your Bio Is a Storefront Now
Selling on Lnkk.it isn’t about adding another link.
It’s about meeting your audience where they already are.
When someone clicks your bio, they’re ready.
With Lnkk.it Shop, you don’t redirect that intent—you convert it.
YOU MAY ALSO LIKE
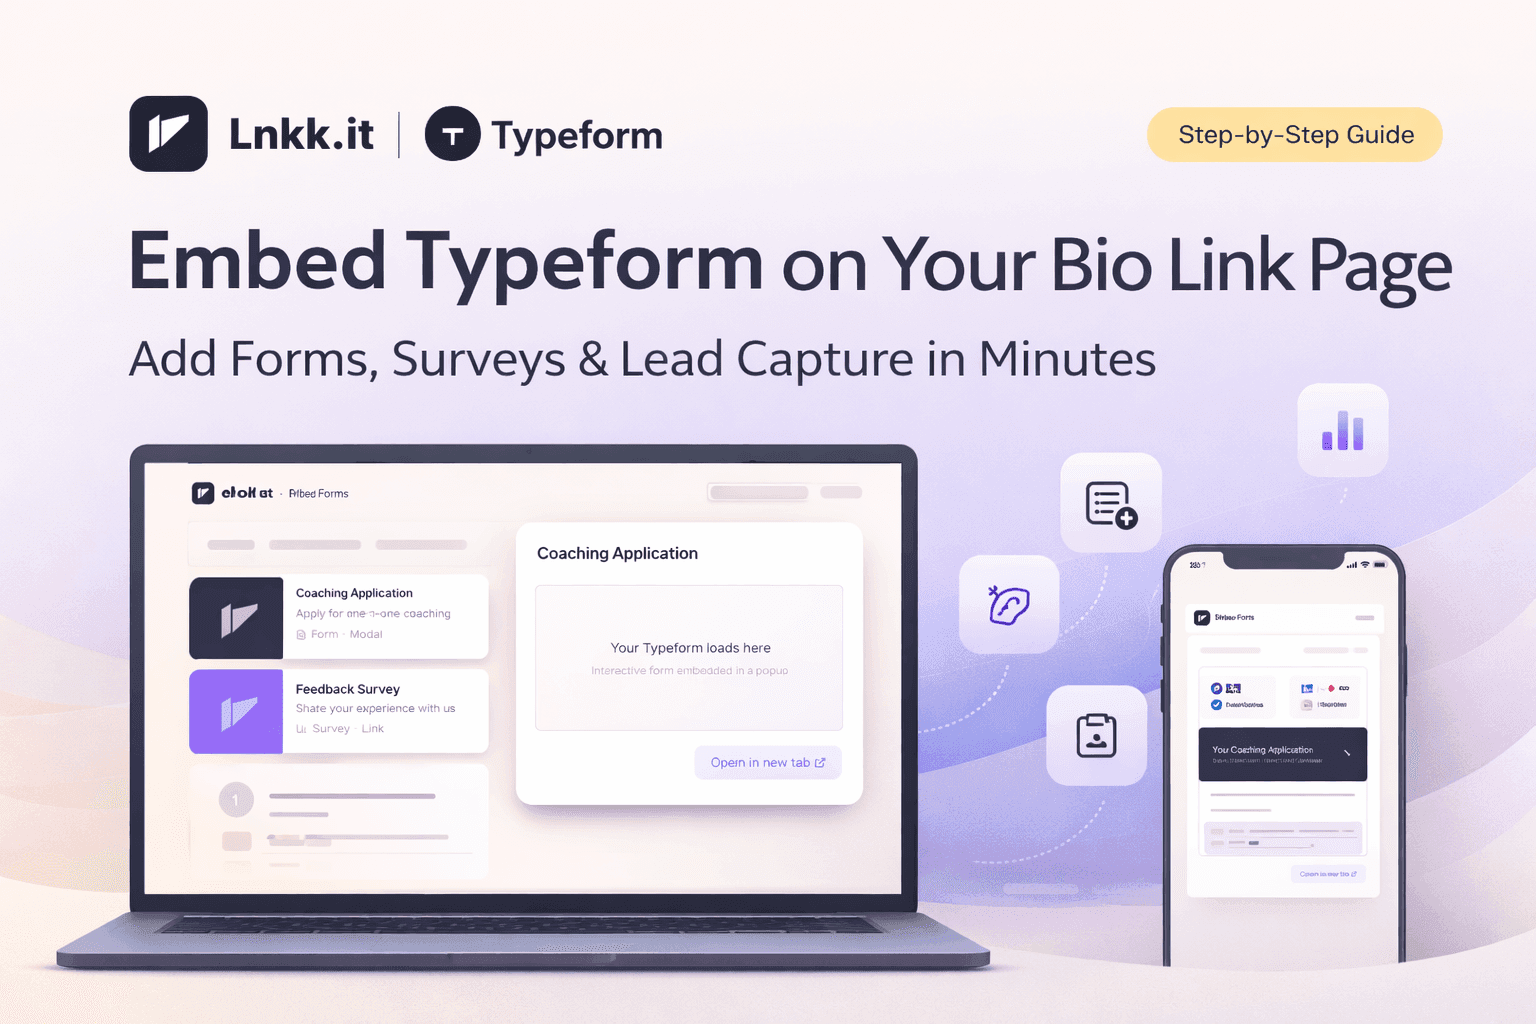
How to Embed Typeform on Your Bio Link Page (Step-by-Step Guide)
Learn how to embed Typeform surveys, quizzes, and application forms directly on your Lnkk.it bio page. Collect leads, feedback, and applications without visitors ever leaving your profile.
How to Add Books to Your Lnkk.it: The Complete Step-by-Step Guide for Authors
Learn exactly how to add your books to Lnkk.it with this complete step-by-step guide. Display beautiful covers, link to multiple retailers, and give readers the buying experience they want.